
"Heh! Piece of cake!"
Here are two of the windows. They are a pair with a six over one configuration when installed. The other pair are identical. These windows will be installed in the main dining room where we currently have no floor or door molding. The plan is to do that molding the same way.

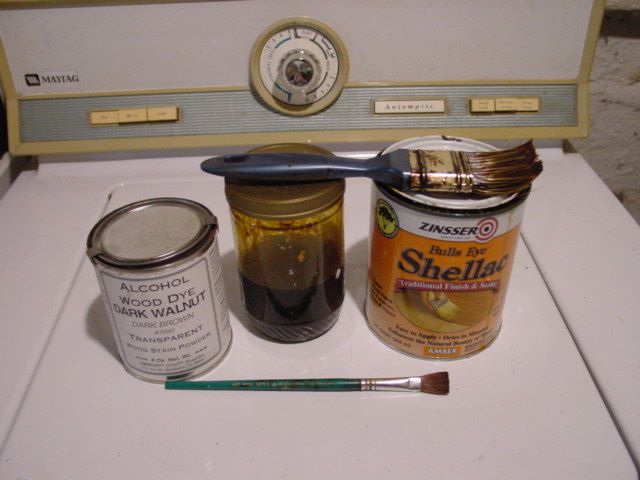
Here are the tools and items I have to work with. A can of amber shellac, a jar with some aniline tinted amber shellac, some left over aniline tinted clear shellac from the dining room floor project last spring (not in the picture), some aniline dye in case I need it (but I shouldn't because I suspect that I have enough), a small brush that I use for shellac work and a large brush that I use for shellac work that has curved bristles because it sat in a jar of alcohol too long.
"Ummm, that sucks!"
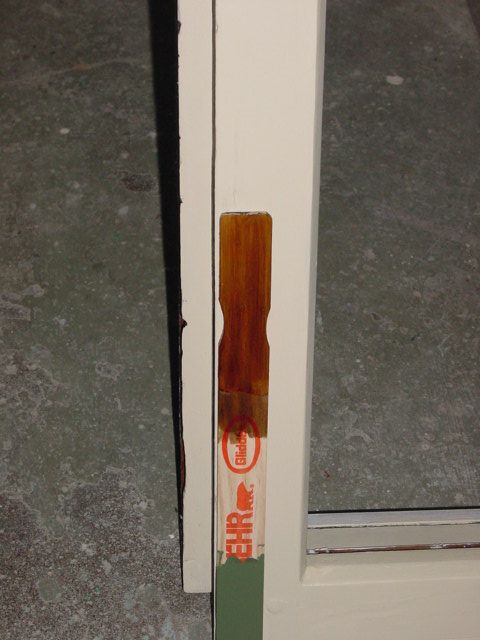
I did a test on a wood paint stirrer to see if I could do it. Looks possible.
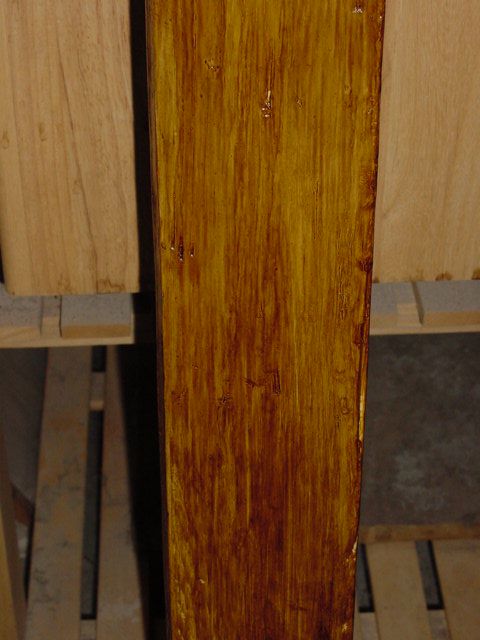
I applied a first coat of amber shellac to all the windows. By the time I got done the first window had dried. I applied a second coat of amber shellac with some aniline tinted clear shellac mixed in to make the windows darker. By the time I was done with the 4th window sash, the first one had dried. I thinned some of the dark tinted shellac from my floor project with some denatured alcohol and brushed that on being certain to make distinguishable brush marks. After 4 hours, all my windows looked like this. Can you see where we are going?
The next step is to let all this dry so that I can lightly sand the surfaces with 220 grit sand paper to remove any dust, bubbles, cat hairs, etc. I could have done that last night too except for one thing. I am working on these in the basement of my residence and the sand paper is sitting by the front door of the "Crackhouse" where I left it when i went to pick up the windows!
These will be done today! I'm waiting for the 4th coat to dry right now...
3 comments:
Looks great- I can't wait to see the entire window completed and hung!
Boy, what a change, it looks great. Bet you're glad that's over with! I'll be excited to check in on your next projects. When you're focused on the kitchen again, you should check out this site. There have been some fun discussions about kitchen remodeling and repair.
Didn't your window stay tacky for a LONG time? I once did that for a set on a stage production of "batboy" and the set was still sticky the day we opened (3 days after i painted the windows)
~Joecomputerdude
Post a Comment