One day I will have the most famous roof in Dayton. Back in 2010 I had to write
this post to counter an attack on me by the local newspaper while I was mayor of Dayton. Their article no longer exists. The journalist who wrote it took a tour around my property two weeks after it was published and called me at home to apologize for the article because he had no idea how much was involved in the project. Of course that apology was never published. Well, here it is eight years later and we now have waterfalls in my daughter's bedroom at the front of the house because the gutters are finally failing there. I have put off the roofing because our summers have been too hot or too wet the past few years but this year we have had record rainfall in March and April so I had to devise a solution. So here is the story. The mansard style roof and box gutters were installed around 1887-1890 along with the slate shingles. I suspect that sometime in the 1930s the metal lined box gutters began to fail so the solution was to add tar paper and pitch to the rusting out box gutters. Every few years another layer of tar paper and pitch was added and at sometime plastic and tar was added. Between 1955 and 1975 the gutters were rubberized and the slate was painted silver to reflect the heat. Eventually the rubber cracked and water seeped through the tar paper, would run down the metal eaves and decorative corbels, get sucked up by the soft brick exterior until saturated and when that happened would drip through the window casings in the front rooms on the second floor. So, on what was likely the windiest day of this year I did this!

Water would no longer enter the gutter at the front of the house and pour into my daughter's bedroom which encompasses those three windows on the second floor! It has rained for several days after installing the tarp and the wind has caused holes to appear and grommets to fail but it is working.
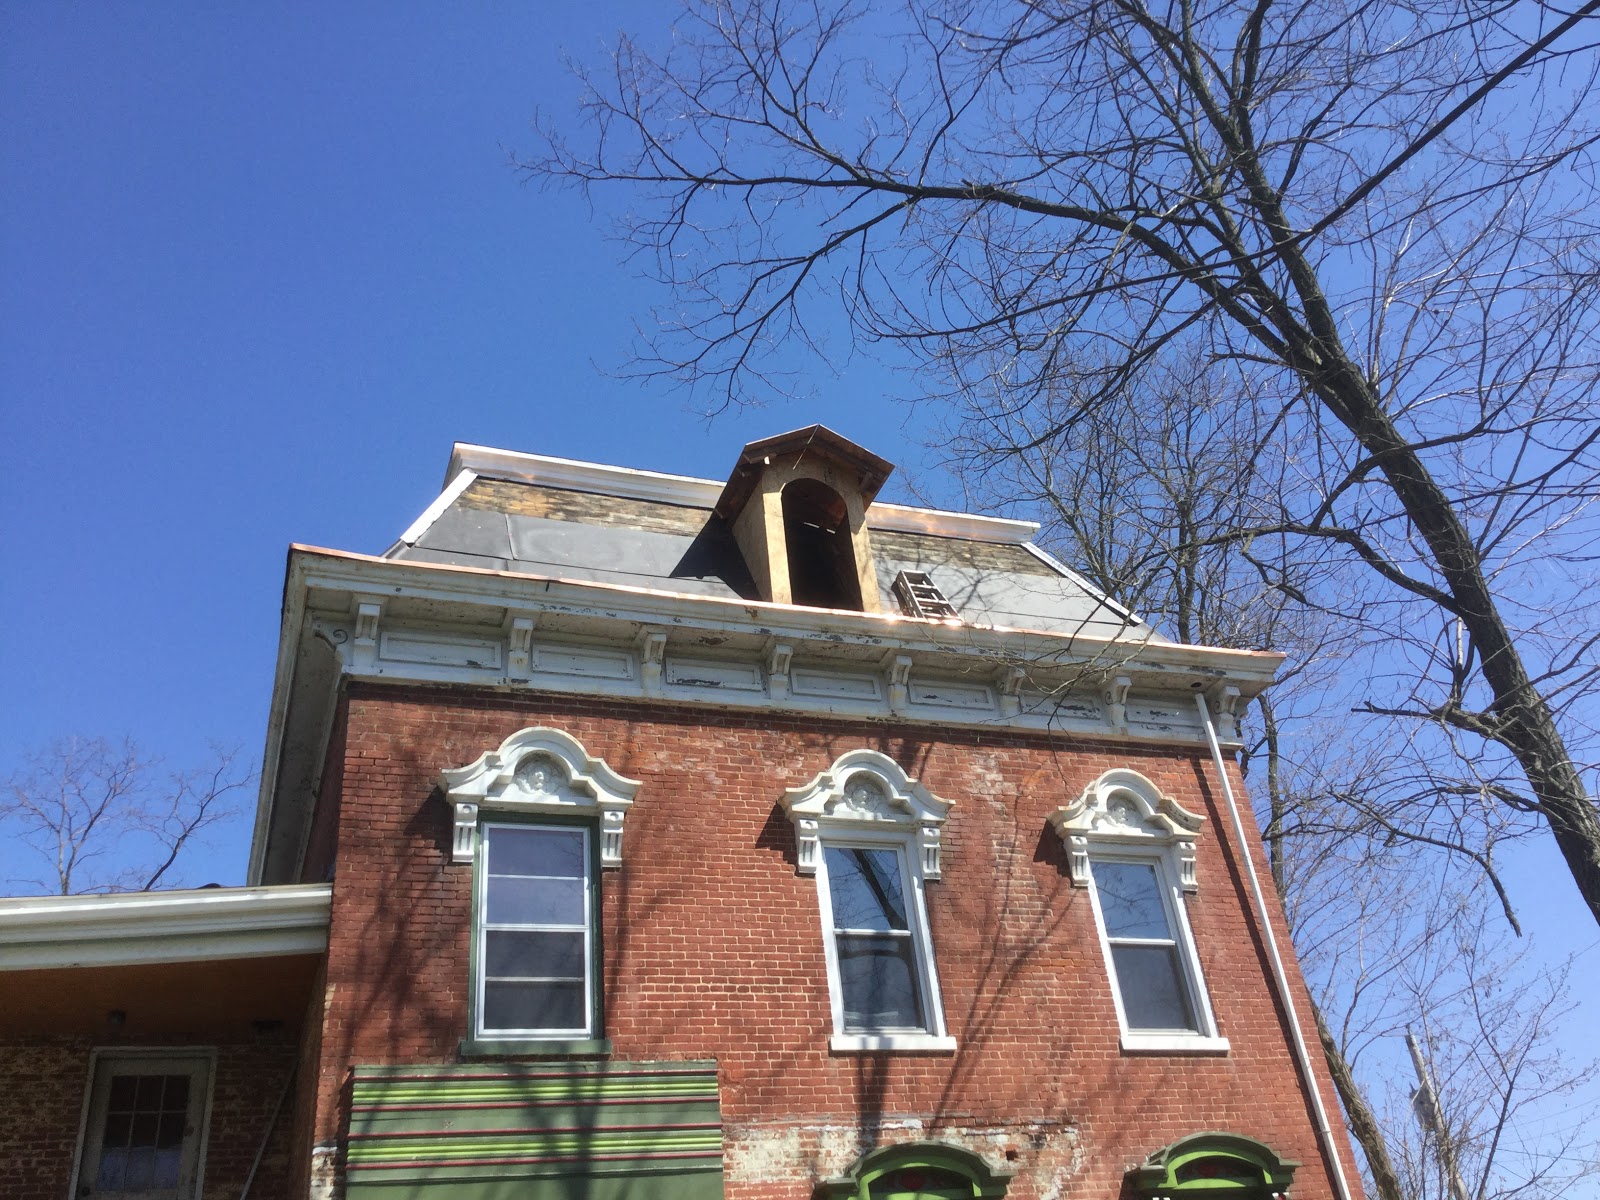
I was able to work under the tarp and remove all of the slate on this side of the house. I was also able to reinforce any wood struts that were rotting out under the gutters, replace the entire wooden gutter floor and one strut with original 2 X 8 wood that I have AND get the new copper box gutters in place. I was also able to get the old dormer deconstructed, the roof sheathing to patch the hole in place and two rows of tar paper on the roof without removing the tarp. Here are some pictures of the gutters as I worked on them. Each two feet of old gutter filled a 5 gallon bucket of black debris. I also had to cut out two thirds of the original metal gutters leaving the front part intact because it connected to the ornate molding at the front of the house.
I then constructed copper gutter corners and installed 10 foot sections in place. I have to bond them together first with self tapping screws, then copper pop rivets and then solder which is difficult to apply on vertical surfaces.
Here I replace self tapping screws with copper rivets.
Here is a length of copper box gutter leading to a corner section. My old campaign sign was used to catch water dripping through a hole in the tarp and channel it into the gutter to drain during a storm.
This is my soldering iron. I hate to think what next months electric bill will be like!
Finally, this is what the dormer opening looked like from inside before I deconstructed it.
Tomorrow the tarp comes off and the real work begins! To be continued .......