
Well, lets see, where was I? Oh, I bought some shellac from Home Depot and was eager to see what it did. So, I applied it to some wood display bases that I had. You all knew I painted these miniatures, right?
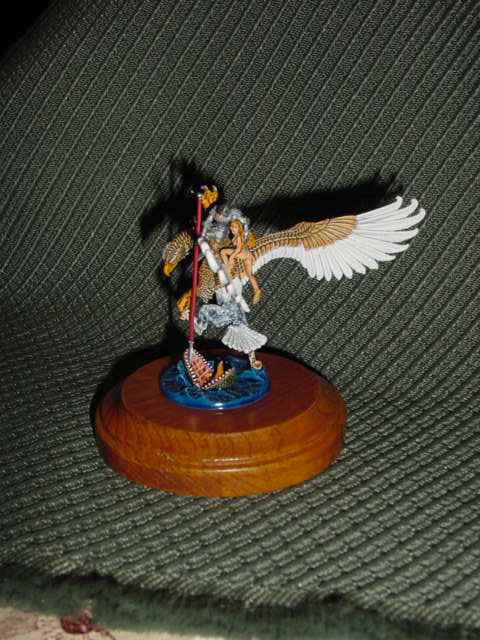
Then I dipped some miniatures in the stuff.

I applied it to some paper and then used it on these two model buildings that I had laying unmade in a drawer.


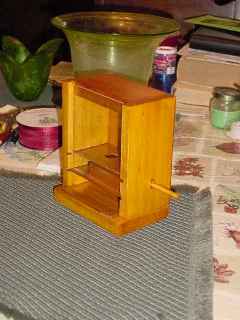
I used it on this "Gumball Machine".
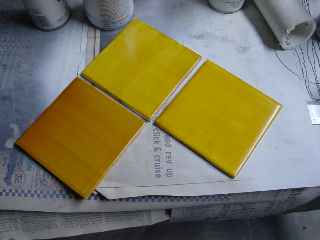
I coated some ceramic tiles with the stuff.

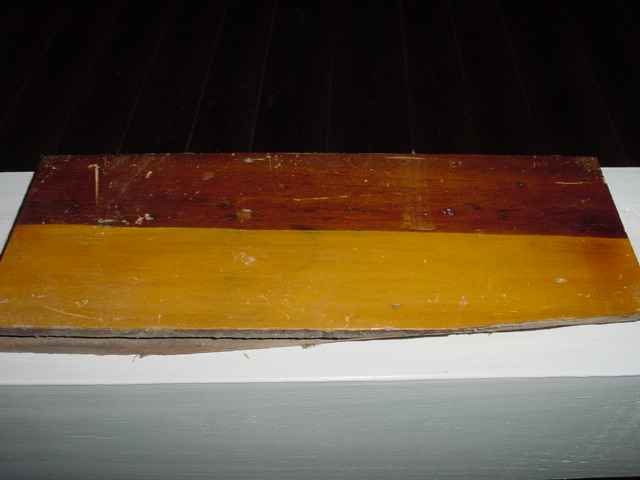
I tried adding alcohol to it to thin it down. I tried some on glass. I even experimented with scraps of wood which had been painted with various colors. Here is one sample I still have laying around the place.
So now I was READY to do some real damage!
I actually recall using it on some window sashes first. I figured that if I didn't like them I could always paint them. Of course they came out fine. I think the next thing I did was restore these stairs.

In this case I rubbed down the original finish with coarse steel wool and denatured alcohol. Wiped up the slop and allowed to dry. Sanded with a palm sander and 150 grit paper then applied some new shellac.
The rest folks is history! If you want to see the stuff I have done with shellac at the house then use the search feature from the home page of this blog and type the word shellac. There are some 45 entries that will come up where I have mentioned the word. The search scans 250 of my pages but since I have actually produced nearly 400 between the web page and the blog you won't necessarily find all the shellac posts.
So, unless you folks have more questions that need to be answered, my final post on the subject will cover aniline dye, tinting and why you shouldn't blow down a tube of the stuff in an effort to speed up the filtering process!
6 comments:
That looks great! I have a bunch of trim that I was preparing to simply coat with clear poly but I now realize that the glaze that was on all of this wood, underneath the many coats of paint was actually amber shellac. I love the beautiful color. This is Zinsser/Zissner right? Did you apply with a brush or a rag? How many coats? Have you ever covered shellaced wood with poly? Am I asking too many questions? Should I follow your advice and do a search? Thanks for the info.
That looks awesome! And it looks just like the wood work in my house! I am so going to do the stairs this weekend! How long does it take to dry cause we have to be able to go upstairs to bed. ;)
From where I am sitting it looks like my pictures are gone again! I will have to edit AGAIN and see if they will take but I'll do it later.
I use a brush for shellac. Wiping it on will only leave a very thin coat. The first coat can be thinned with alcohol as it is used to seal the wood. You should sand with #220 grit paper after the first coat has dried (20 Minutes) and then after every two coats. Poly can be put over shellac but for molding you shouldn't have to. The shellac will have a high gloss sheen. I finish it with superfine steel wool and Johnson Wax then buff. This reduces the gloss and the wax protects the shellac from water. Makes it really smooth!
Test your technique on a scrap of wood or the back of a piece of trim. Shellac is not like paint and will dry as you use it. Try to keep a wet leading edge and if you are getting lapp marks, thin the shellac a little. It is better to apply 6 thin coats then 2 thick ones. The early coats dry within 40 minutes. The last coats may take an hour but could be soft and leave an imprint from the knee of your pants which should come out with the wax and steel wool. After using it a little you will become quite good with the stuff.
Miniatures in shellac???
AAAaaaaarrrRRrrGGgggHHHH!!!!!
Is this walnut color for the shellac? I'm going to use this for all my floors... just love the color!!
These pictures all show the amber shellac color. The walnut color is aniline dye that is added to the shellac to darken it. You can also get mahogany , cherry, yellow dyes fro shellac to change the color. Instead of staining the wood, you are staining the finish.
Post a Comment