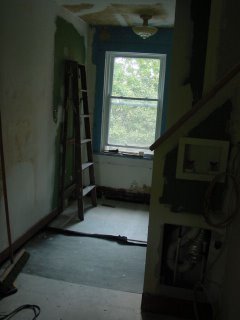
I never did have to buy any plaster of paris. My lime putty and sand mixture did the job just fine and since we are never in a hurry at crackhouse central the extended curing time was not a problem. In most cases the patching in was quite dry in 24 hours but there were shrinkage cracks. I'm sure that using fibers in the mix would have reduced this cracking which could be filled with more lime putty and less sand or finer sand by the way.
This wall is all plaster repair except those "fingers" at the top. They are hairline cracks that have been taped with mesh drywall tape and a fine coat of joint compound applied to get the tape to stay on the wall.

I haven't drywalled over the door yet because I need to establish where the wall mounting faucet will go and do a little jimmy rigging to hold it in place or establish some kind of access panel so that I can deal with the burst pipes after the winter freeze! (Since plumbing is truely my greatest constant with this place.)
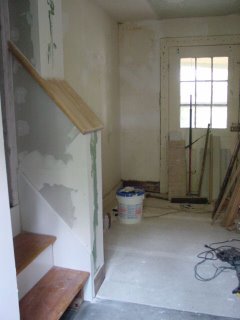
This wall was my experiment wall with filling shrinkage cracks and smoothing lime plaster. On the other side, where the laundry room is, it looked like this

There isn't much room to take a good picture of the patch behind the toilet. It was basically a rectangle of green board. In fact it was almost the right size for the area to be patched and rather than cut the dry wall, it was easier to draw a line on the plaster where the edge of the board would go and chisle a little more plaster away from the brick. I then used my lime plaster to fill around the edges and after it had dried, I taped the edge with joint tape and smoothed the surface with joint compound.

I wasn't so particular about perfect plaster in the laundry room. I left shrinkage cracks to be filled with the joint compound as long as the plaster was firm and holding to the wall. I stated in my first post about plaster work that I wasn't trying to impress anyone with my plastering skills though I am impressing myself with my ability to make the walls smooth without having to sand them!
So, after covering the build out and partition wall with drywall and applying two coats of joint compound to the walls and ceiling in some areas, putting in a second ceiling light, moving the location of the original light, installing a switch and GFCI socket and cutting some old wood to use as baseboards, the laundry/powder room looks like this.


Now all I have to do is strip paint from the molding before applying a few more passes with jount compound in some areas and a final pass over the entire room with "Top Coat", put in some baseboards, install some electrical outlets to service the washer and dryer, tile the floor, finish the plumbing to the sink and this room will be ready to paint! For some people living in Chicago, I would like to say that at 8' X 16' this is the smallest room in the house. No, I'm sorry, Elizabeth's closet room, adjoining her bedroom is the smallest room at 5' X 8'. We'll never be able to live in a small house after this place!

3 comments:
That is quite a closet! I've seen bedrooms in homes that size. I like to say we make up for in charm what we lack in size :)
But you get to have both!
Wow Gary, the house is really coming together, I was confused for a second when I saw the stairs, but then I remember having to jump down from the hallway to the laundry room. Its looking great!
amazing progress and with only one person(albeit a super hero maybe we'll call you "Plaster Man")!
Post a Comment